WordPress
Connect your WordPress site to Kenzi to add a live chat widget where visitors can message your team directly.
What You’ll Need
Section titled “What You’ll Need”- A Kenzi account — sign up at kenzi.chat if you don’t have one yet
- A WordPress site running version 6.7 or later
- Admin access to your WordPress dashboard
Install the Plugin
Section titled “Install the Plugin”Choose whichever method suits your workflow. All three produce the same result.
Download the ZIP
Section titled “Download the ZIP”- Download the latest release from GitHub.
- In your WordPress dashboard, go to Plugins > Add New Plugin.
- Click Upload Plugin and select the ZIP file you downloaded.
- Click Install Now, then click Activate.
Install with Composer
Section titled “Install with Composer”If you manage your WordPress site with Composer:
composer require kenzi-chat/wordpress-pluginThen activate the plugin in your WordPress dashboard under Plugins.
Install from GitHub
Section titled “Install from GitHub”You can also clone the repository directly into your plugins directory:
cd wp-content/pluginsgit clone https://github.com/kenzi-chat/wordpress-plugin.git kenzi-chatcd kenzi-chatcomposer install --no-devThen activate the plugin in your WordPress dashboard under Plugins.
A new Kenzi Chat item will appear in your Settings menu.
Connect to Kenzi
Section titled “Connect to Kenzi”Connecting links your WordPress site to your Kenzi workspace so they can talk to each other.
-
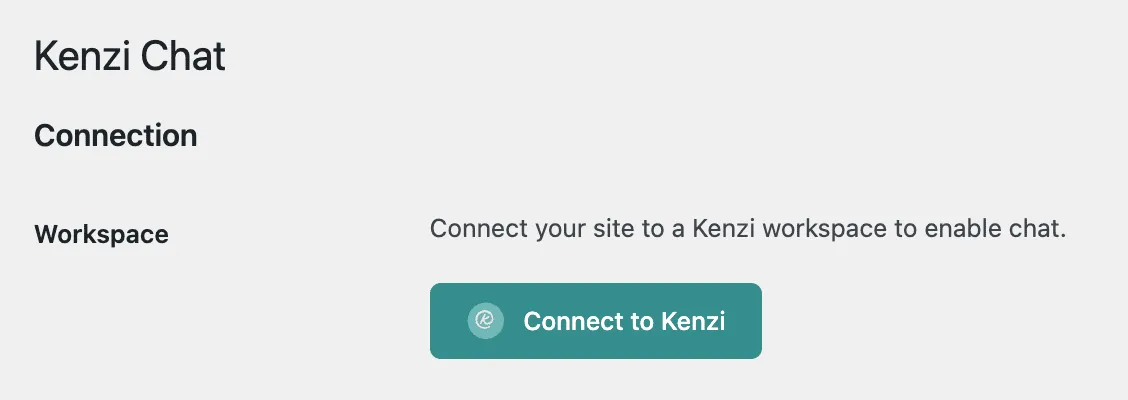
In your WordPress dashboard, go to Settings > Kenzi Chat.
-
Click the Connect to Kenzi button.
-
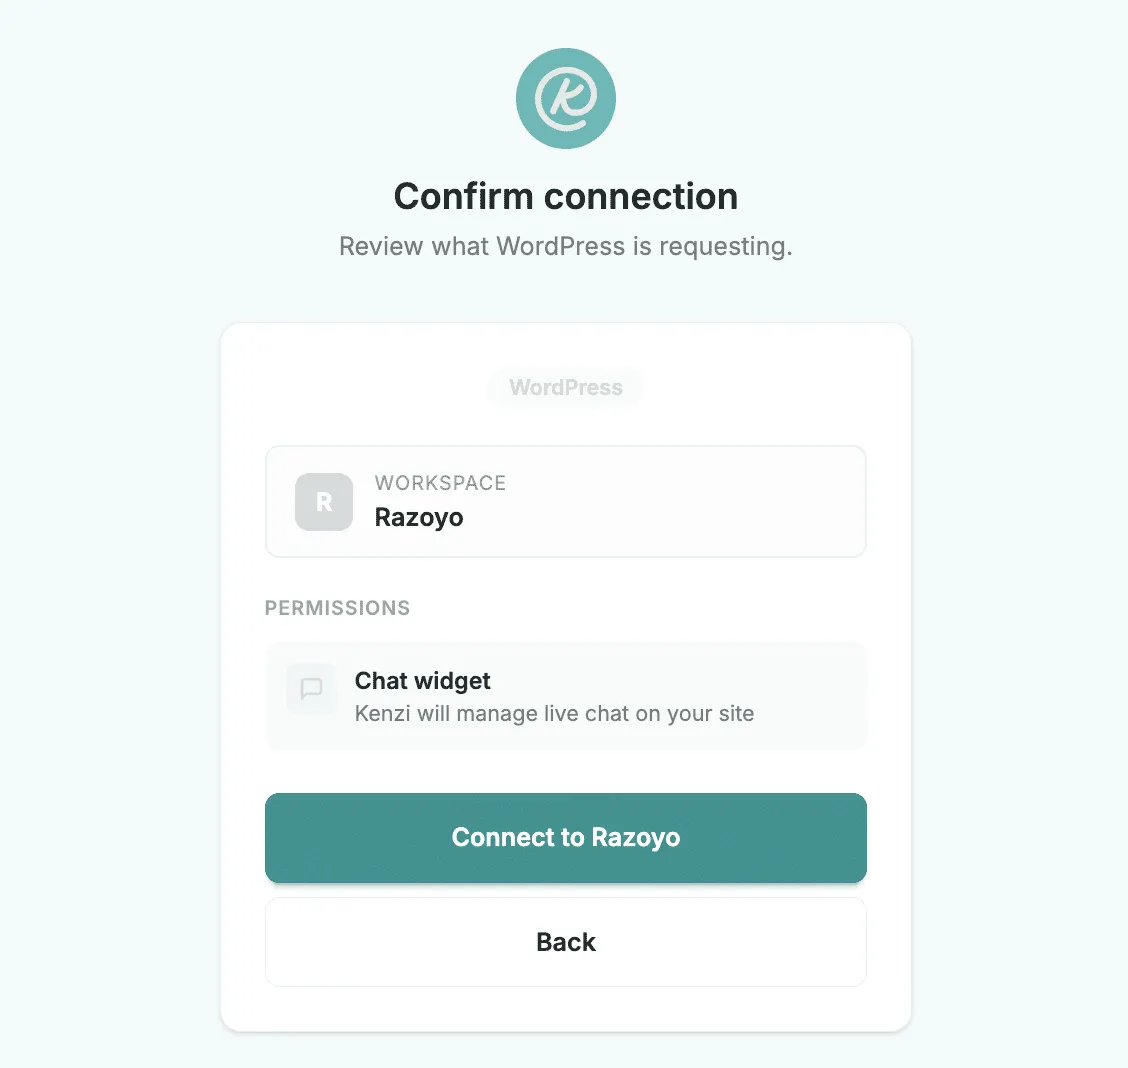
A popup will open. If you’re not already signed in to Kenzi, sign in with Google.
-
Select the workspace you want to connect to. If you only have one workspace, it will be selected automatically.

-
Review the connection and click Connect.
-
The popup closes and you’ll see a Successfully connected message.
You’ll now see a green Connected status on the settings page.

Enable the Chat Widget
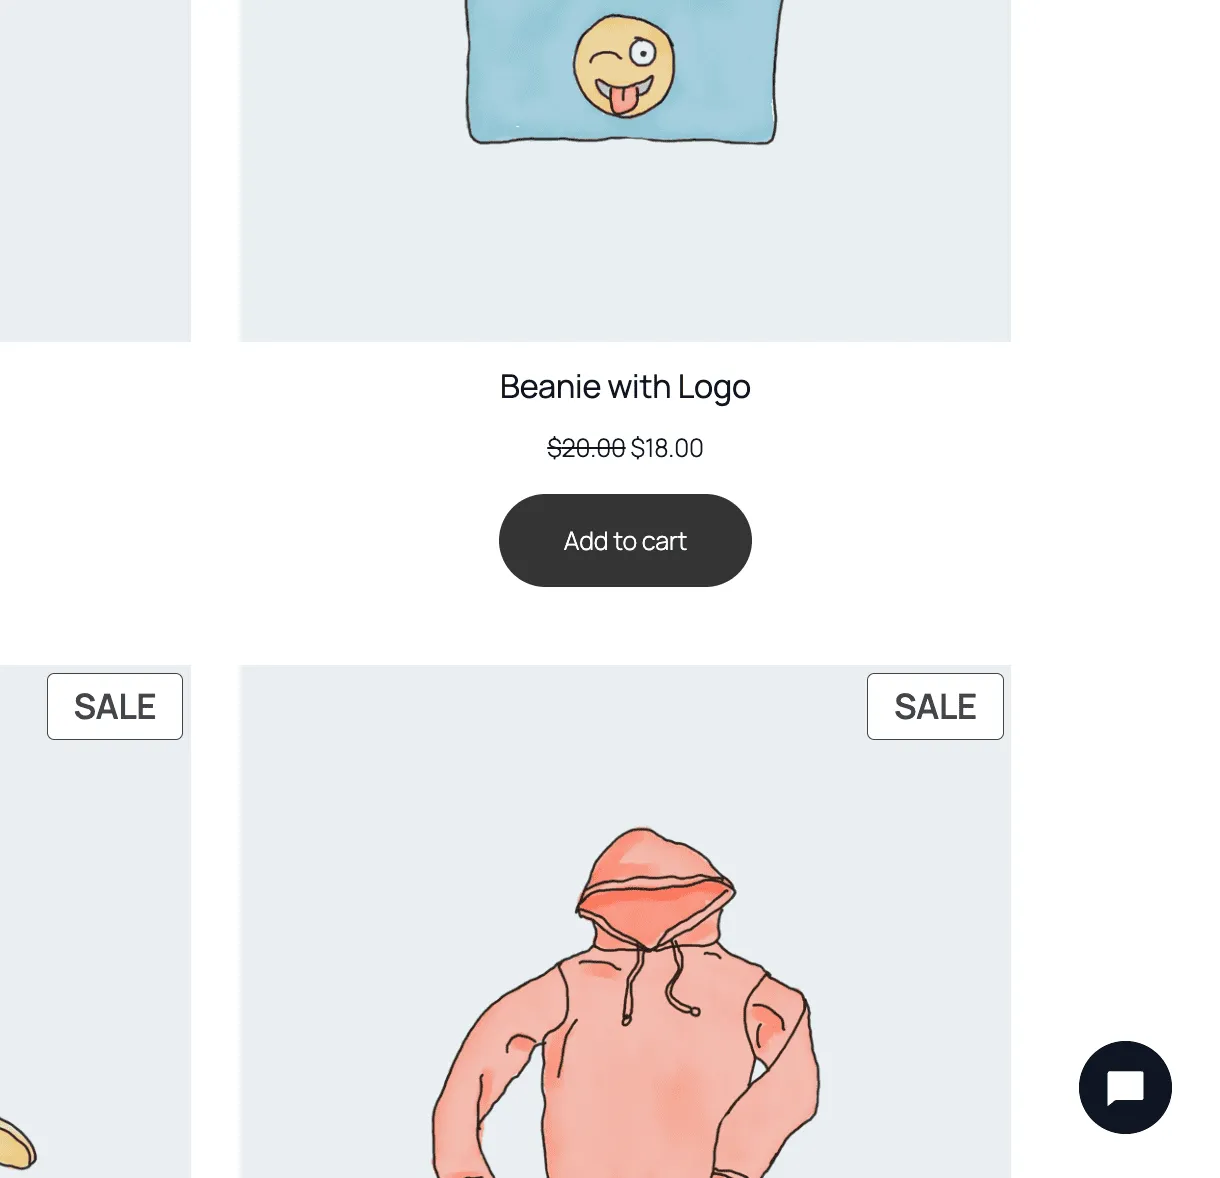
Section titled “Enable the Chat Widget”The chat widget is a small chat window that appears on your website so visitors can message you.
- On the Kenzi Chat settings page, check the Enable Widget box.
- Click Save Changes.
The widget will now appear on every page of your site. When you or your team are online in Kenzi, visitors will see your agents and can start a conversation. When no one is online, the widget offers an email option so visitors can still reach you.
Reconnect
Section titled “Reconnect”If your connection ever needs to be refreshed — for example, after a site migration or if something stops working — you can reconnect without losing your setup:
- Go to Settings > Kenzi Chat.
- Click the Reconnect button.
- Follow the same popup flow as the initial connection.
Disconnect
Section titled “Disconnect”If you need to remove the connection between your WordPress site and Kenzi:
- Go to Settings > Kenzi Chat.
- Click the Disconnect button.
- Confirm when prompted.
The chat widget will stop appearing on your site. You can reconnect at any time by clicking Connect to Kenzi again.